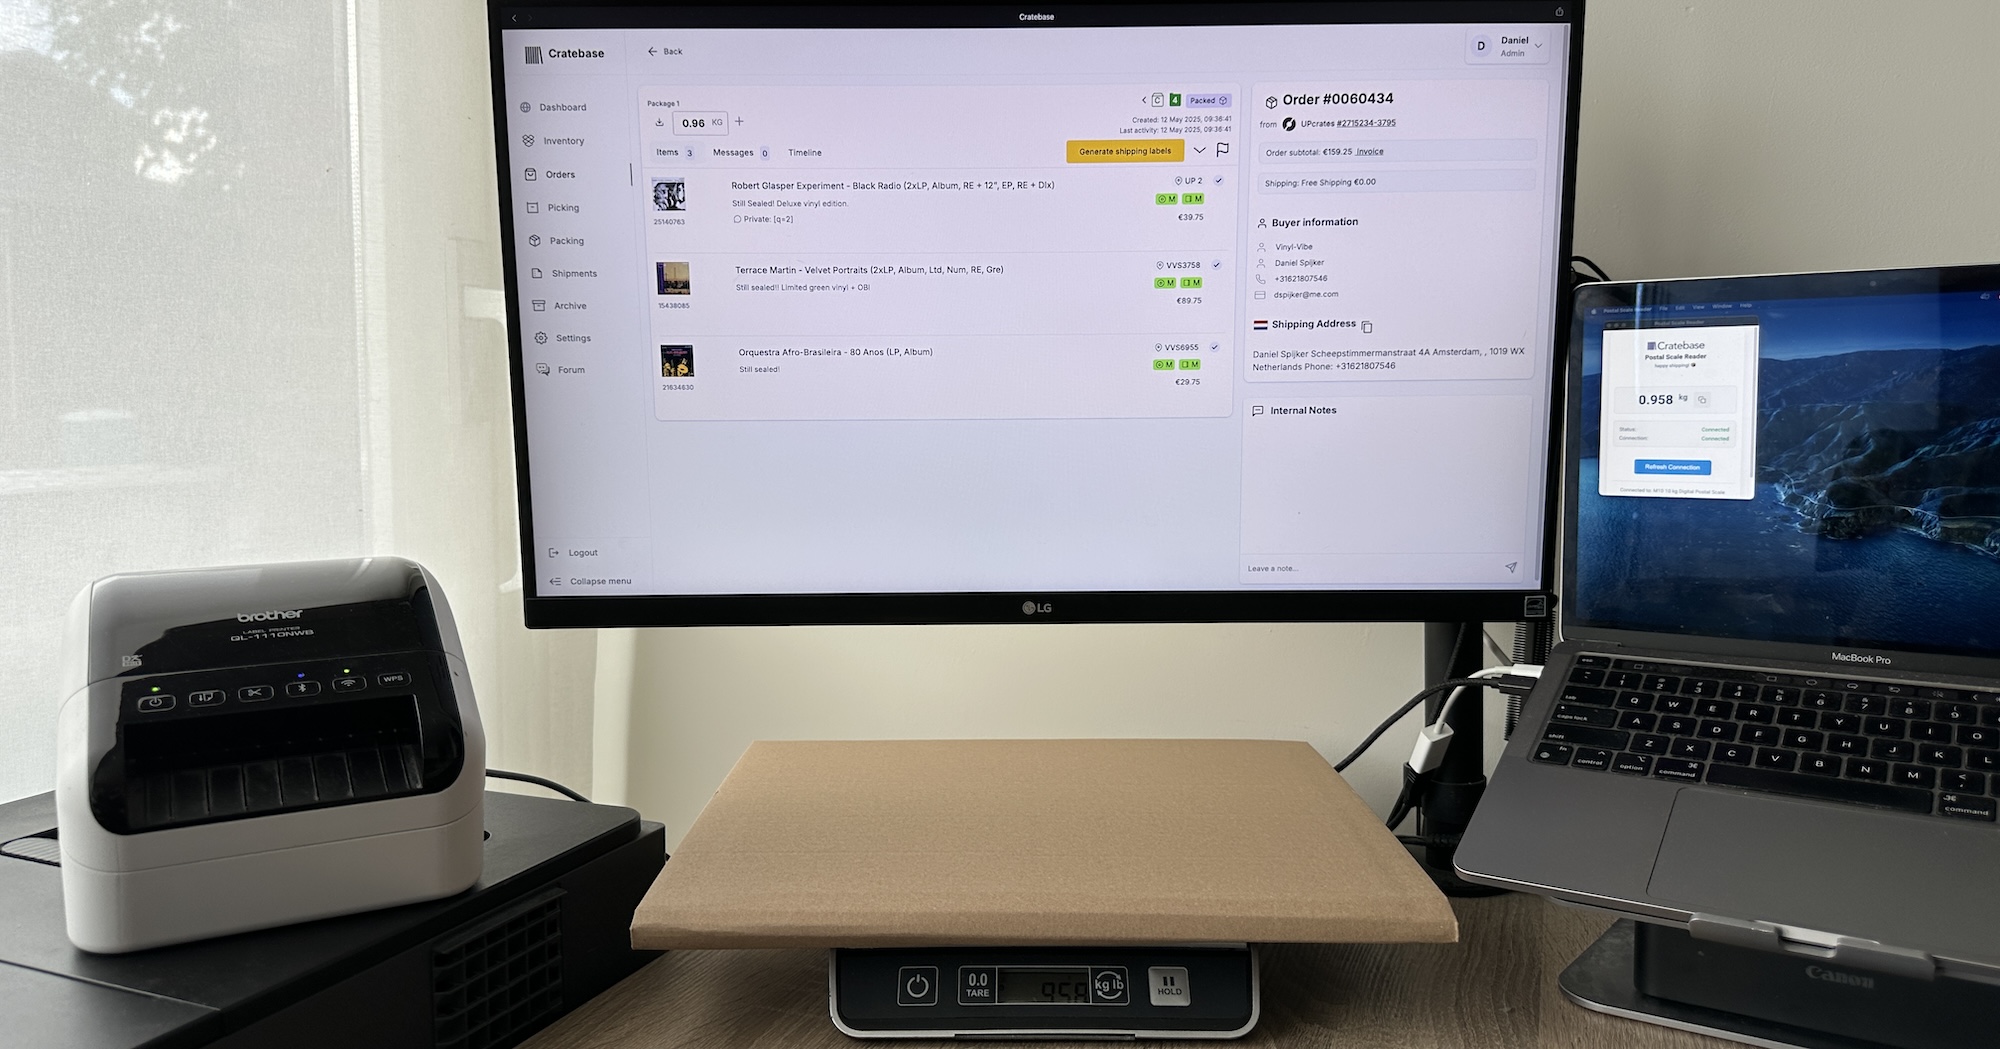
Label printers are awesome when they work, but can be quite a pain to set up properly, especially when used to print from various web browsers. Since Cratebase runs completely in the cloud you can manage orders and generate labels from any device, but to print the labels directly we need to make sure the label printer is properly configured. Here's some tips to install & configure label printers. We've tested this with various brands and types like Zebra, Brother and Dymo to print standard 4"x6" shipping label stickers. Generally the setup flow follows the same logic. If you need any additional support, of course we are here to help.
The process involves a few key steps: installing the printer driver, setting up the printer with your computer, and adjusting the print settings in your browser. Here's a detailed walkthrough:
Installing the Printer Driver
In most modern operating systems the drivers for common (label) printer models are already included and the printer should work out-of-the-box. If not, then the easiest way is to go to the printer manufacturer's website and find the support / software section to download the latest drivers for your specific model.
Setting Up the Printer
1. Connect the Printer to Your Computer:
- Use a USB cable or connect via Wi-Fi, depending on your printer model.
- Turn on the printer.
2. Add Printer to Your Computer:
- For Windows:** Go to 'Settings' > 'Devices' > 'Printers & scanners' > 'Add a printer or scanner'.
- For macOS:** Go to 'System Preferences' > 'Printers & Scanners' > '+' to add a new printer.
3. Select the Label Printer:
- Choose your label printer from the list of available printers.
- If prompted, select the correct driver.
4. Set Default Paper Size:
- Access the printer properties or settings.
- Set the default paper size to 4"x6". Make sure this is set up correctly because in browser print dialogues this option is often not available.
- If the 4"x6" paper size is not directly available (this is often the case when you rely on standard OS printer drivers) you can create a custom paper size:.
- Set the default paper size to 4"x6". Make sure this is set up correctly because in browser print dialogues this option is often not available:
Once your printer and paper size settings are set up, you can try printing your label from within the browser by adjusting the Browser Print Settings:
For Chrome / Safari / Firefox:
1. Open Print Dialog:
- Press `Ctrl + P` (Windows) or `Cmd + P` (macOS) when you are on the page you want to print.
2. Select Printer:
- Choose your label printer from the dropdown menu.
3. Adjust Print Settings:
- Set the paper size to 4"x6" or the custom paper size you created in the previous step.
- Ensure the layout / orientation is correct (usually landscape for label printers).
- Make sure the DPI is matching the DPI of your printer, the default is normally set to 600 DPI but especially older label printers need a lower DPI, like 203 DPI.
- Adjust margins and scaling as needed.
4. Print:
- Click 'Print' to send your document to the label printer.
Additional Troubleshooting Tips:
- Test Print: Always do a test print to ensure everything is set up correctly.
- Update Printer Firmware: Occasionally check for and install any firmware updates from the manufacturer.
- Check Browser Version: Ensure you are using the latest version of your browser for the best compatibility. Older browser versions often have outdated settings, plugins and options to properly set up and troubleshoot your label printer.
- Printer Preferences: For specific features or advanced settings, refer to your printer's manual or online resources from the manufacturer.
Each printer model and computer setup can have its nuances, so if you encounter any issues in the process get in touch with us or with a local technical support for your specific hardware.